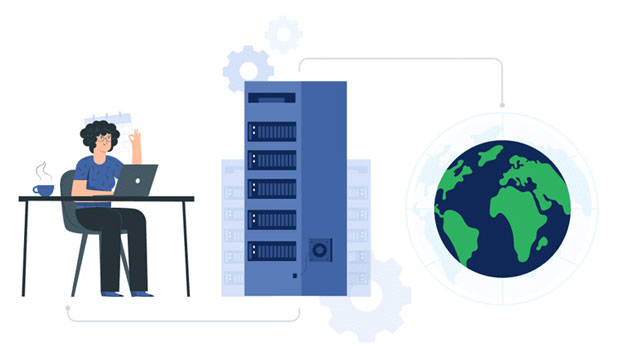
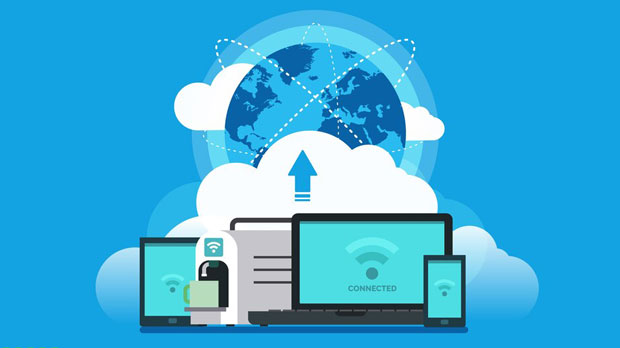
socks5 proxy is widely known for its ability to facilitate anonymous internet browsing by redirecting user traffic through a third-party server. However, when it comes to applications like Telegram and Discord, which require consistent and secure communication, many users wonder if SOCKS5 is the right solution for login purposes. In this article, we will explore whether using sock s5 proxies for logging into Telegram or Discord is effective, safe, and practical. We will also address its pros and cons, and suggest the best use cases for this technology in the context of these two popular platforms. What is a SOCKS5 Proxy?A SOCKS5 proxy is a type of internet protocol that allows users to route their internet traffic through a remote server, masking their original IP address. Unlike other types of proxies such as HTTP or HTTPS, SOCKS5 does not inspect or modify the traffic passing through it, making it more flexible and effective for a variety of protocols, including HTTP, FTP, and others. SOCKS5 is highly valued for its ability to bypass geographical restrictions, enhance privacy, and provide an extra layer of security for users who want to maintain anonymity.How SOCKS5 Works and Its BenefitsSOCKS5 operates by acting as an intermediary between the user's device and the internet. When a user connects to the internet through a SOCKS5 proxy, all data transmitted between the user and the proxy server is routed through the proxy, effectively masking the user's real IP address. This makes SOCKS5 an excellent tool for online privacy. Some of the benefits of using SOCKS5 include:1. Anonymity and Privacy: It hides the user’s IP address, preventing websites or applications from tracking their physical location or other personal details.2. Bypass Geo-blocking: SOCKS5 allows users to access content that may be restricted in their region by connecting through a proxy server located in a different country.3. Support for Multiple Protocols: Unlike HTTP proxies, SOCKS5 supports various types of traffic, including video streaming, gaming, and file-sharing applications.Telegram and Discord OverviewBoth Telegram and Discord are popular messaging and communication platforms. Telegram is renowned for its focus on privacy, offering end-to-end encryption for its users. It’s often used for both personal and professional communication, especially in groups and channels. Discord, originally designed for gamers, has grown into a broad platform that facilitates voice, video, and text communication for a variety of communities.When using these applications, users often seek to protect their identity or bypass geographic restrictions. Given the nature of these platforms, questions arise about whether a SOCKS5 proxy is an ideal solution.Using SOCKS5 for Telegram LoginFor Telegram users, the use of a SOCKS5 proxy can be beneficial in several scenarios. Many Telegram users rely on the app to communicate securely without revealing their personal IP address. In such cases, using SOCKS5 can help preserve privacy and mask their location.However, there are some considerations to keep in mind:1. Connection Stability: While SOCKS5 is generally stable, it can sometimes experience delays or drops in connection, especially if the proxy server is under heavy traffic. This could result in an unreliable connection when logging into Telegram.2. Encryption Limitations: Although Telegram offers its own encryption for messages, SOCKS5 proxies do not encrypt traffic by default. This means that while a SOCKS5 proxy can mask your IP address, it does not provide an added layer of encryption for the communication between your device and the server. If security is a priority, users should ensure they use Telegram’s in-built encryption and combine it with a VPN for more comprehensive protection.3. Speed: SOCKS5 proxies do not provide inherent speed benefits and can actually slow down the connection depending on the proxy’s quality. A slow connection may lead to delays in message delivery or issues during voice calls.Using SOCKS5 for Discord LoginDiscord, with its heavy reliance on real-time voice communication, video streaming, and chat, requires a stable and low-latency internet connection. SOCKS5 proxies can be used to mask a user’s IP address when logging into Discord, but there are several challenges that must be considered:1. Latency and Performance: Since Discord uses voice and video features, users need a fast and stable connection. SOCKS5 proxies, especially those not optimized for gaming or real-time communication, can introduce latency and cause issues like lag or voice dropouts during calls.2. Breach of Terms of Service: While using a proxy with Discord itself is not inherently against the terms of service, some users may run into issues if their activity is detected by Discord's anti-fraud systems. This could result in temporary bans or restrictions on accounts.3. Not Providing Full Encryption: Similar to Telegram, using SOCKS5 with Discord doesn’t provide full end-to-end encryption for communication, which could be a concern for users looking for complete privacy and security.Pros and Cons of Using SOCKS5 for Telegram and DiscordWhile SOCKS5 proxies offer certain advantages, there are also drawbacks that need to be considered before using them to log into applications like Telegram or Discord.Pros:- Increased Privacy: Masks your real IP address, helping you maintain anonymity online.- Access to Restricted Content: Enables users to bypass geographic restrictions, especially useful for users in countries where Telegram or Discord might be blocked.- Flexible Protocol Support: SOCKS5 works with a variety of traffic types, making it versatile for different use cases beyond just browsing.Cons:- No End-to-End Encryption: While SOCKS5 hides your IP address, it doesn’t provide encryption for your communication, leaving it vulnerable to third-party interception.- Potential Slowdowns: Poor-quality or overcrowded socks5 proxy servers can slow down your connection, which can affect the user experience, especially on real-time communication platforms.- Risk of Account Suspension: Both Telegram and Discord have policies in place to prevent fraudulent activities. If a user is detected using proxies, they may risk account suspension.When to Use SOCKS5 with Telegram or DiscordUsing a SOCKS5 proxy for Telegram or Discord may be ideal in specific situations:- Bypassing Geo-blocking: If you need access to a version of Telegram or Discord restricted in your region, a SOCKS5 proxy can help you connect to a server in another country.- Anonymity: If your primary goal is to mask your IP address and maintain some level of anonymity, a SOCKS5 proxy can provide a sufficient level of privacy without revealing your physical location.- Low Risk Activities: For activities that do not involve sensitive communication, such as casual chatting, SOCKS5 can be useful for bypassing regional restrictions without compromising privacy.ConclusionIn conclusion, while SOCKS5 proxies offer certain benefits, including anonymity and the ability to bypass geographic restrictions, they are not always the best option for logging into Telegram or Discord. The lack of encryption, potential for connection slowdowns, and possible violations of platform policies make SOCKS5 a less than ideal choice for sensitive or performance-intensive tasks. However, in specific scenarios where privacy and access are more important than speed and encryption, SOCKS5 can be a valuable tool. Users should carefully weigh the pros and cons before deciding to use SOCKS5 for logging into Telegram or Discord.
Jun 30, 2025