Your form has been submitted. We'll contact you in 24 hours.
Close
Home/Blog/How to bulk import www proxyvote com proxy on Linux system?
How to bulk import www proxyvote com proxy on Linux system?
PYPROXY·Jun 19, 2025
In the world of internet security and data protection, proxies play a crucial role in maintaining privacy and anonymity while browsing or accessing online resources. Specifically, bulk importing proxies can save a significant amount of time for system administrators who need to configure multiple proxies at once in a Linux system. This process can be a bit tricky for beginners, as it involves various tools and commands that are vital to managing the proxies efficiently. However, once you understand the right approach, it becomes a straightforward task. In this guide, we will explore how to bulk import proxies in a Linux environment, covering essential steps, tools, and methods. Whether you’re managing a small network or large-scale server infrastructure, the techniques outlined here will help optimize your proxy management process.
Step 1: Understand Proxies and Their Importance
Before diving into the specifics of bulk importing proxies, it is essential to understand the role proxies play in network management. Proxies act as intermediaries between a user and the internet, effectively masking the user’s real IP address and providing additional security layers. This is particularly important for activities such as web scraping, security testing, or simply maintaining privacy while browsing.
In the Linux environment, proxies are essential for applications that require internet access but need to ensure the user's anonymity. Setting up proxies in bulk allows for efficient management of network resources and improves the overall performance of the system.
Step 2: Prerequisites for Bulk Importing Proxies
Before starting the bulk import process, make sure you have the following prerequisites in place:
1. Linux-based system: This guide assumes that you are using a Linux distribution such as Ubuntu, CentOS, or Debian.
2. Proxy list: You should have a list of proxies in a format that can be imported. Typically, proxies are listed with their IP addresses and ports, sometimes with authentication details (username and password).
3. Command-line knowledge: Basic knowledge of the Linux terminal and commands is required for executing the bulk import process.
Step 3: Choosing the Right Proxy Management Tool
Linux offers various tools for managing proxies, and choosing the right one depends on your specific needs. Below are some common tools for managing proxies in bulk:
1. Proxychains: Proxychains is a tool that forces any TCP connection made by any given application to go through a proxy. It supports SOCKS4, SOCKS5, and HTTP proxies.
2. Squid: Squid is a full-fledged caching proxy server, often used for managing proxy configurations across a network. It allows for bulk import and automatic routing of requests through a list of proxies.
3. cURL: While cURL is typically used for data transfer, it can be configured to work with proxies. It is ideal for users who need to test proxies in bulk before final implementation.
4. NetworkManager: This tool is used to manage network configurations on Linux-based systems and can be configured to use proxies.
Step 4: Importing Proxies in Bulk Using Proxychains
Step-by-step guide for importing proxies using Proxychains:
1. Install Proxychains: If not already installed, install Proxychains using the following command:
```bash
sudo apt-get install proxychains
```
2. Configure Proxychains: Edit the Proxychains configuration file (`/etc/proxychains.conf`) to include the proxies you want to import. You can do this by opening the file in a text editor:
```bash
sudo nano /etc/proxychains.conf
```
3. Add Proxies to the Config File: In the configuration file, you will see a section at the bottom where you can add proxies. Simply append your list of proxies in the following format:
```
socks4 192.168.0.1 1080
socks5 192.168.0.2 1080
http 192.168.0.3 8080
```
4. Test the Configuration: Once you’ve added the proxies, test the setup by running a command through Proxychains:
This will ensure that your proxy list is working properly.
Step 5: Bulk Importing Proxies Using Squid
For those managing larger systems or networks, Squid is an excellent choice. Here’s how you can bulk import proxies with Squid:
1. Install Squid:
```bash
sudo apt-get install squid
```
2. Configure Squid: Edit the Squid configuration file (`/etc/squid/squid.conf`) to include your proxies. In the configuration file, you can set up ACLs (Access Control Lists) to control proxy usage.
3. Import Proxies: Import proxies into the Squid configuration file by adding them under the `acl` section:
```
acl proxy_list src 192.168.0.1/32
acl proxy_list src 192.168.0.2/32
```
4. Restart Squid: After importing your proxies, restart the Squid service to apply the changes:
```bash
sudo systemctl restart squid
```
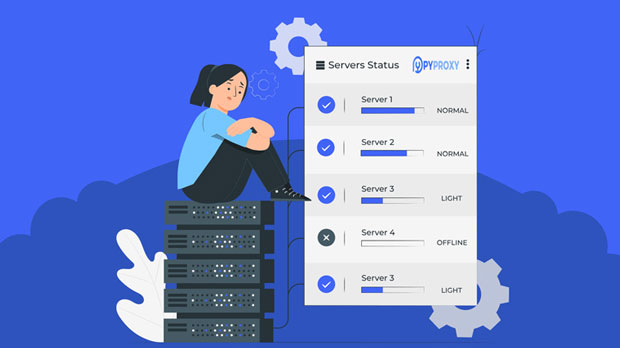
Step 6: Verifying Proxy Import and Performance
Once the proxies are imported, it is essential to verify their functionality to ensure they are working as expected. Here’s how you can verify the performance of your imported proxies:
1. Test Proxy Connectivity: Use a tool like `curl` or `wget` to test if your proxy is routing traffic correctly.
2. Monitor Traffic: Monitor the network traffic to ensure that requests are being routed through the proxies. Tools like `iftop` or `nethogs` can help track real-time network usage.
3. Check Proxy Speed: Proxies can vary in terms of speed. Use benchmarking tools to check the latency and throughput of your imported proxies.
Step 7: Troubleshooting Common Issues
While bulk importing proxies is relatively straightforward, you may encounter issues along the way. Below are some common problems and solutions:
1. Proxy Authentication Failures: Ensure that the correct username and password are provided for proxies that require authentication.
2. Proxy Not Connecting: Check if the proxy is live and operational. Ensure there is no firewall blocking the proxy server.
3. Performance Degradation: If performance drops after bulk importing proxies, check for network congestion or proxies that are not responding properly.
Bulk importing proxies in Linux is an essential skill for network administrators who need to manage multiple proxies efficiently. By using tools like Proxychains, Squid, or NetworkManager, it is possible to automate and streamline the process of adding proxies to your system. With the right tools and techniques, you can improve security, enhance browsing privacy, and optimize network performance across your Linux-based systems.